We are glad you have decided to use OneLogin to access Seamless HRMS. That way, your staff can access the Seamless application with the same credentials used across your organization without having to create a username and password. To set you up, we require some credentials.
- ENTITY_ID: This is the Entity ID of the OneLogin Identity Provider (IDP). It uniquely identifies the IDP, and your application needs to know this to initiate the SAML 2.0 authentication request.
- ENTITY_ACS: This is the Single Sign-On URL provided by OneLogin. When your application needs to authenticate the user, it will redirect the user to this URL to start the SSO process.
- ENTITY_CERTIFICATE: This appears to be the X.509 certificate used to sign and verify SAML requests and responses between your application and OneLogin.
In addition, we will require a Test account to be created for SeamlessHR to enable us to verify the integration. It enables us to act like an employee of yours and log in to Seamless HRMS to test that the OneLogin Auth login is fine.
- Email: e.g. seamlesshr_test@{YOUR_DOMAIN}.com
- Password: Password12345
Registering an app on the OneLogin Page
To register an app on the OneLogin platform, sign in at the link here.
After successful creating a free-trial, you’ll be asked to confirm your account via your business email, after verifying account proceed to Login,
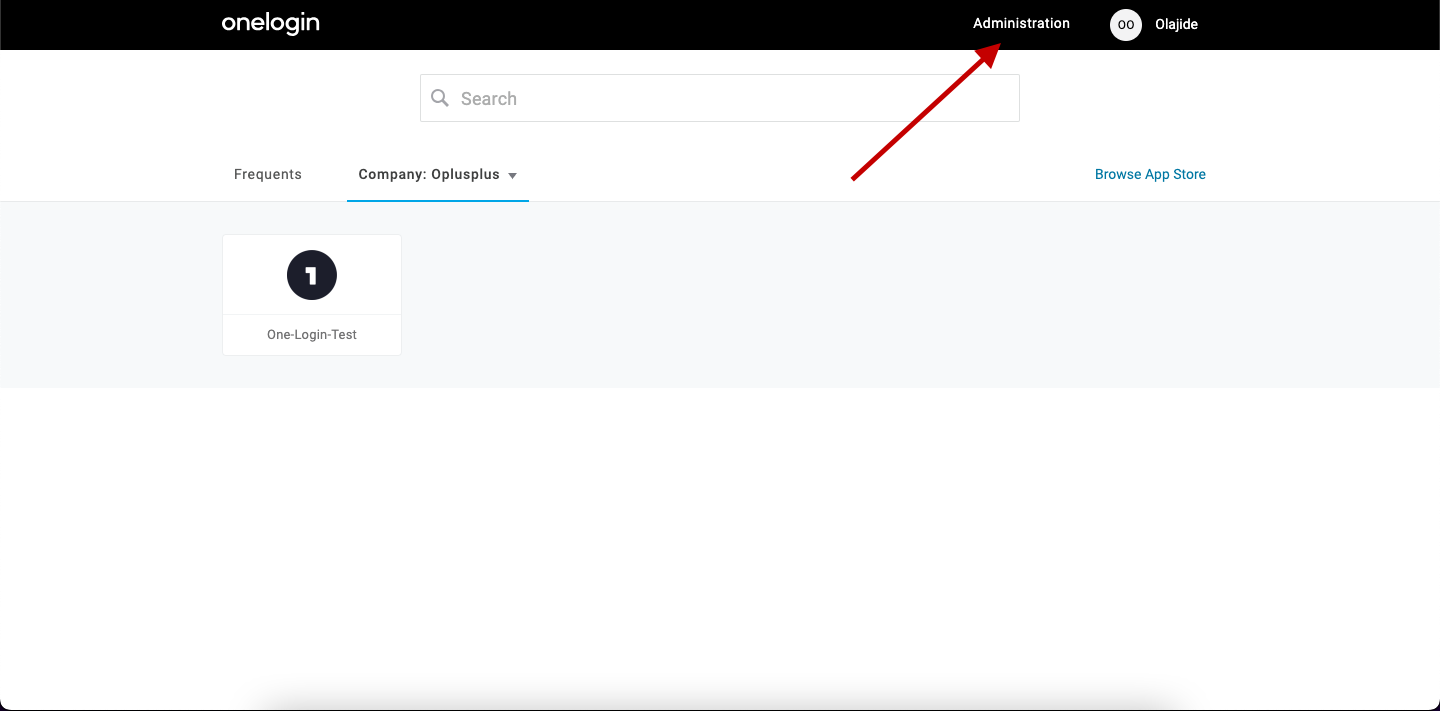
Click on the Administration link at the top. See the image below:
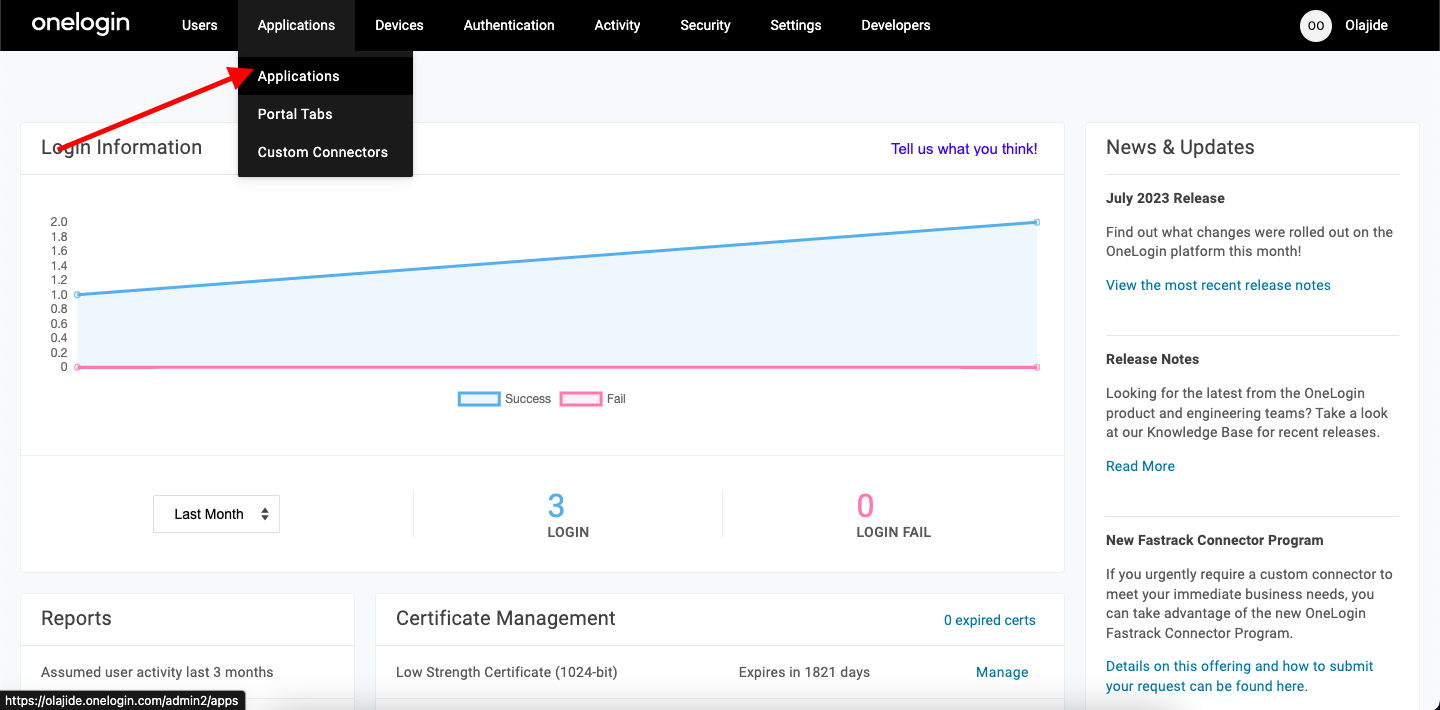
Click on Applications on the top dropdown
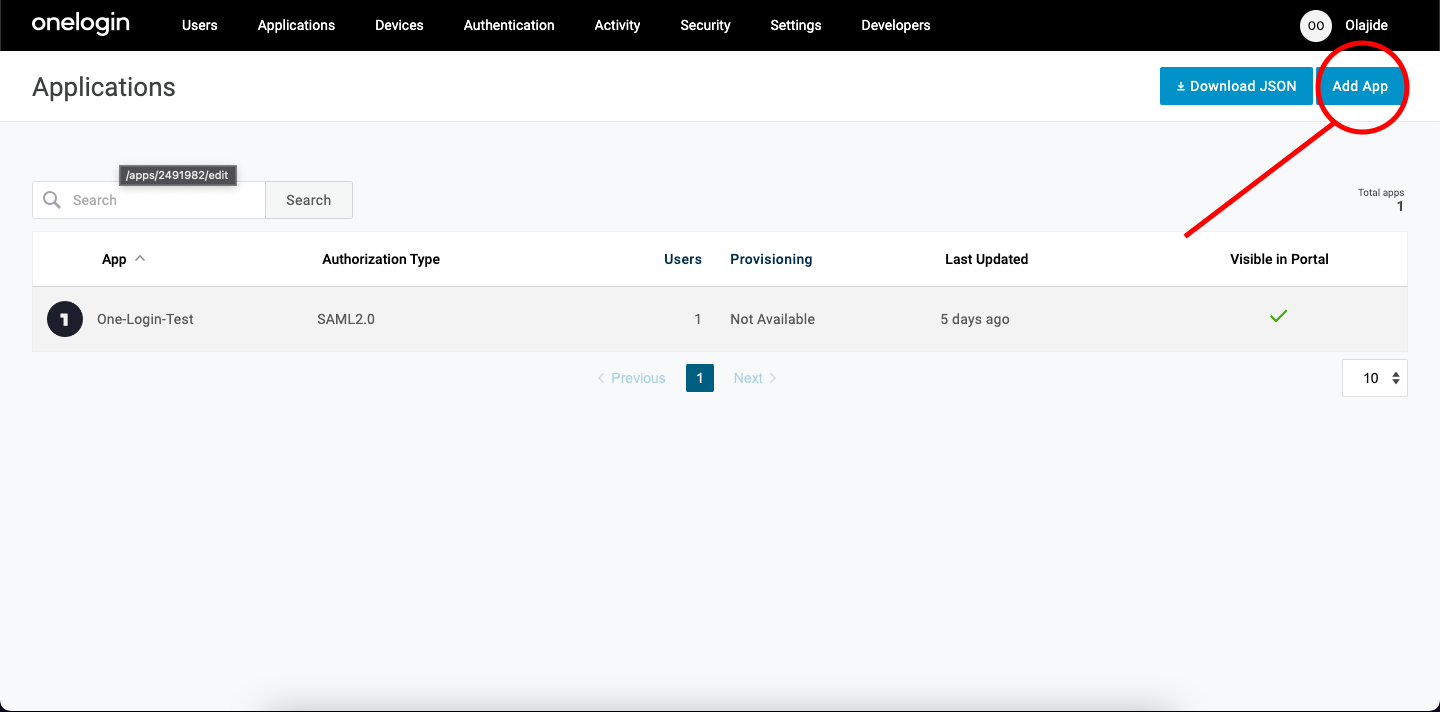
Click on Add App.
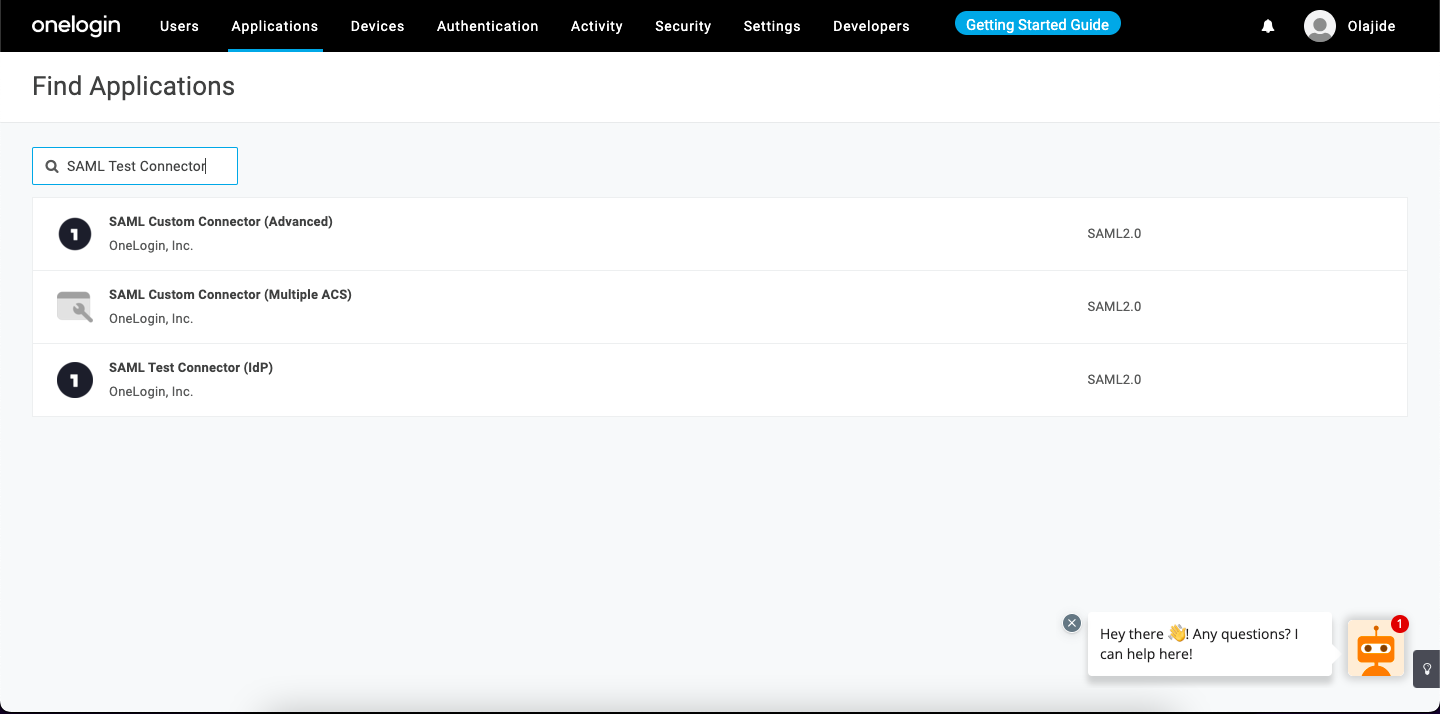
In the "Find Applications" search box, type "SAML Custom Connector (Advanced)" and select it from the list of applications.
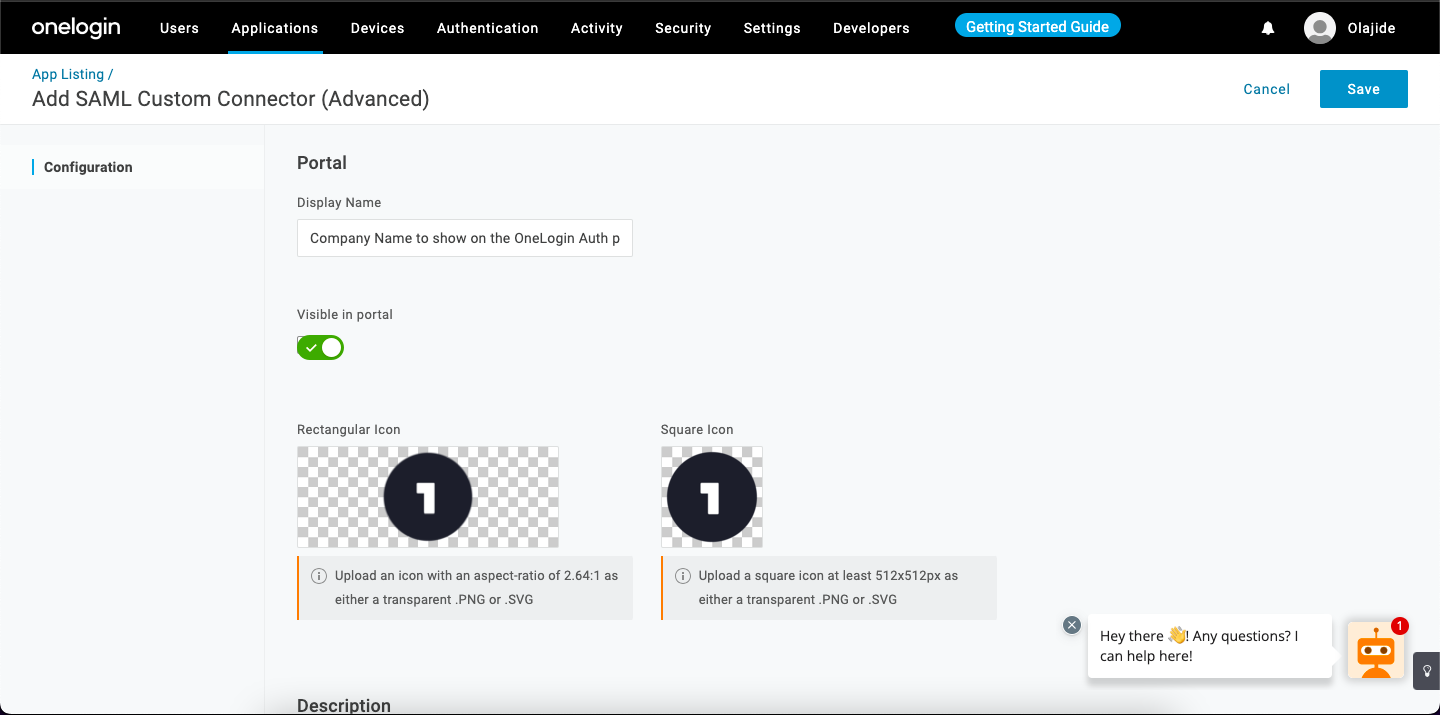
Set the Application Name
Navigate to SSO, Provide the credential on the SSO Page
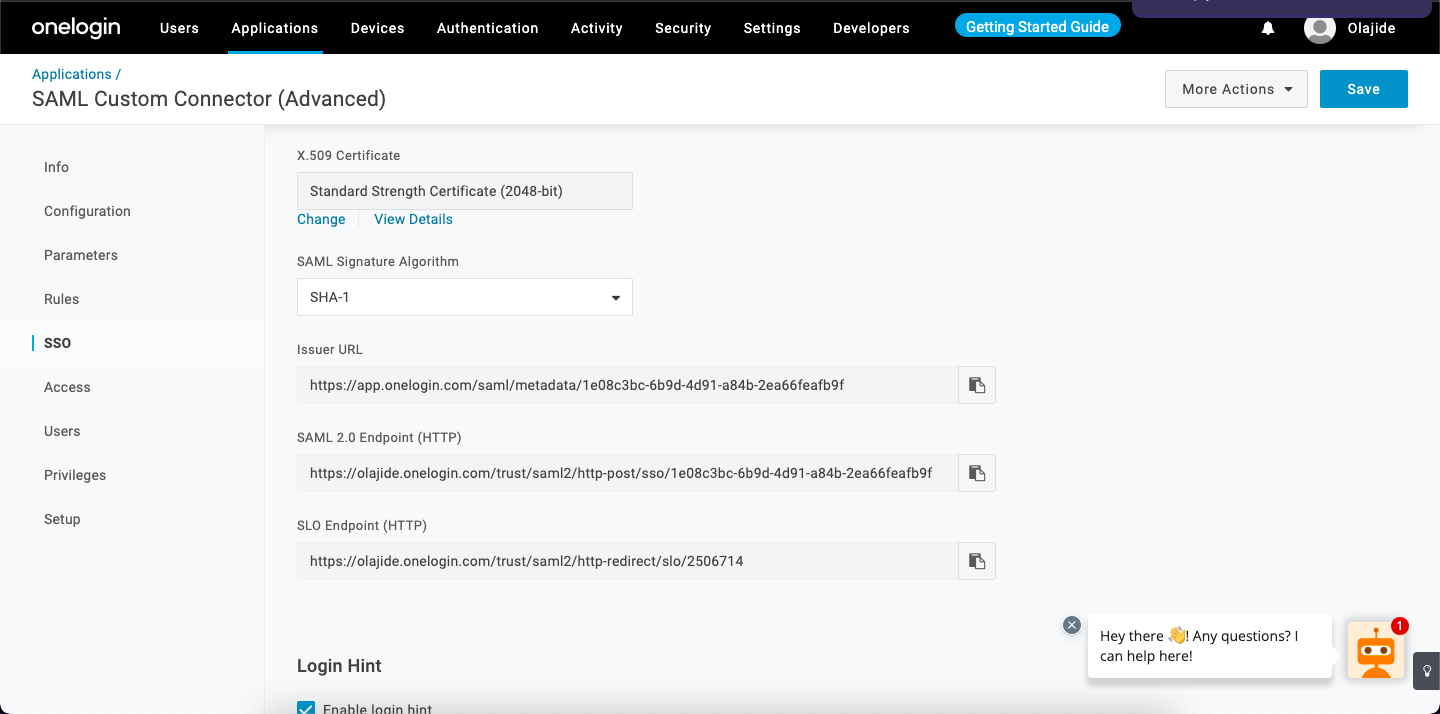
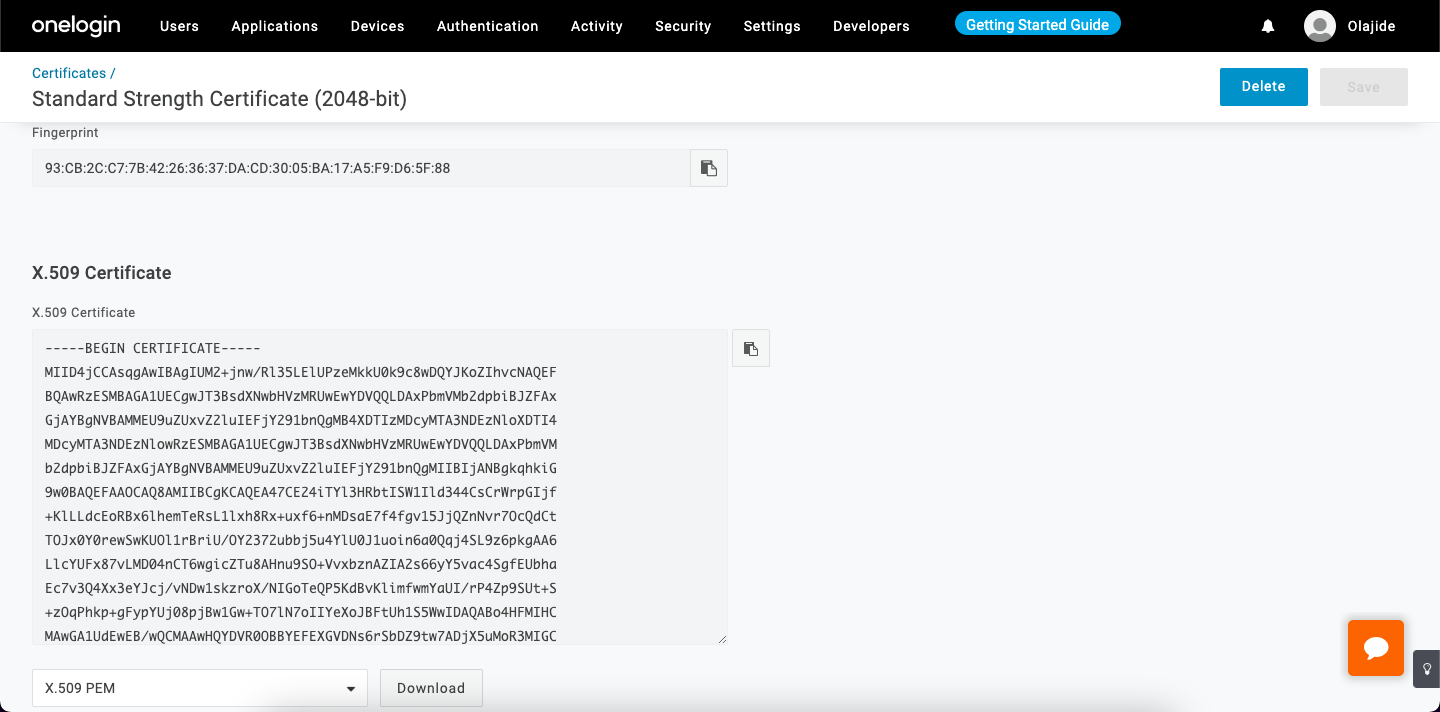
Click on the View Details under x-509 Certificate, Download the key
Navigate to the configuration menu
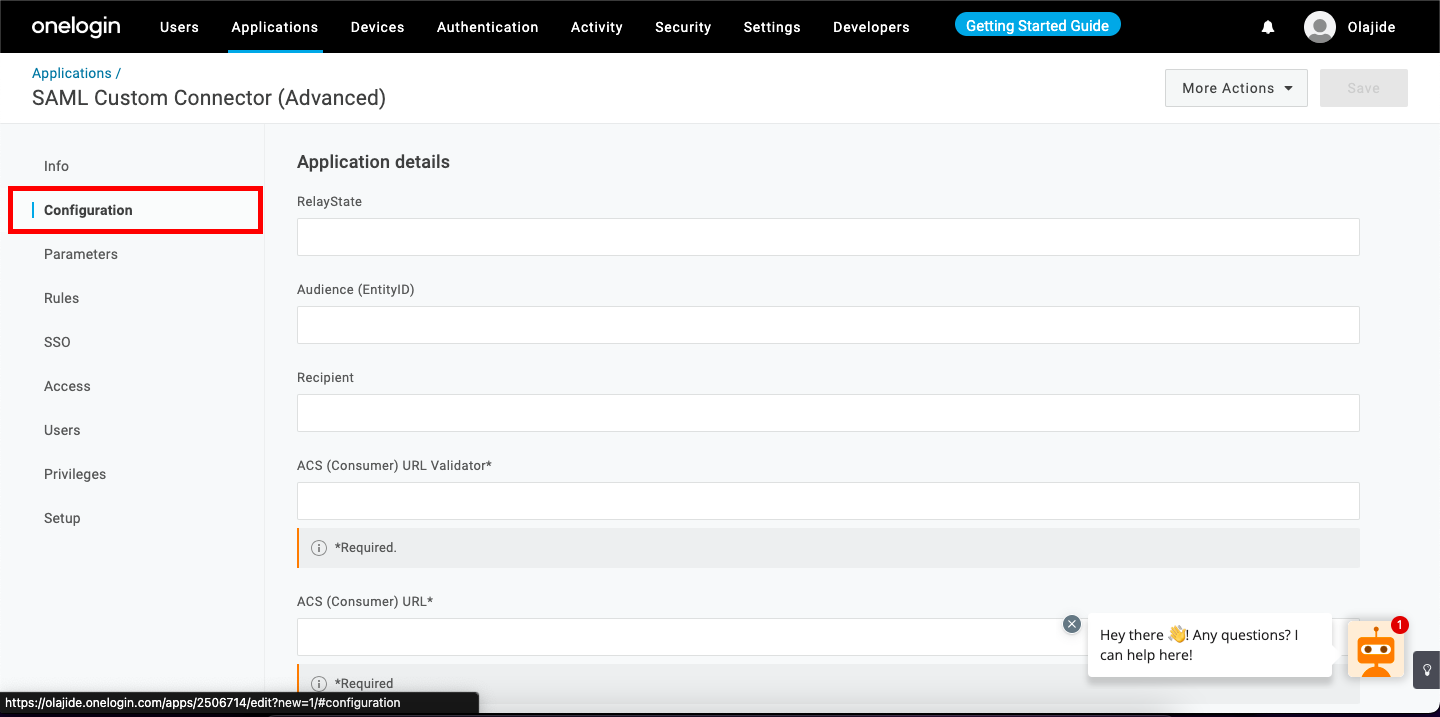
Fill the following:
Audience (EntityID): paste the issuer URL gotten from SSO page
ACS (Consumer) URL Validator: .* (dotAsterisk)
ACS (Consumer) URL: {https://your-seamlesshr-domain}.com/saml2/callback
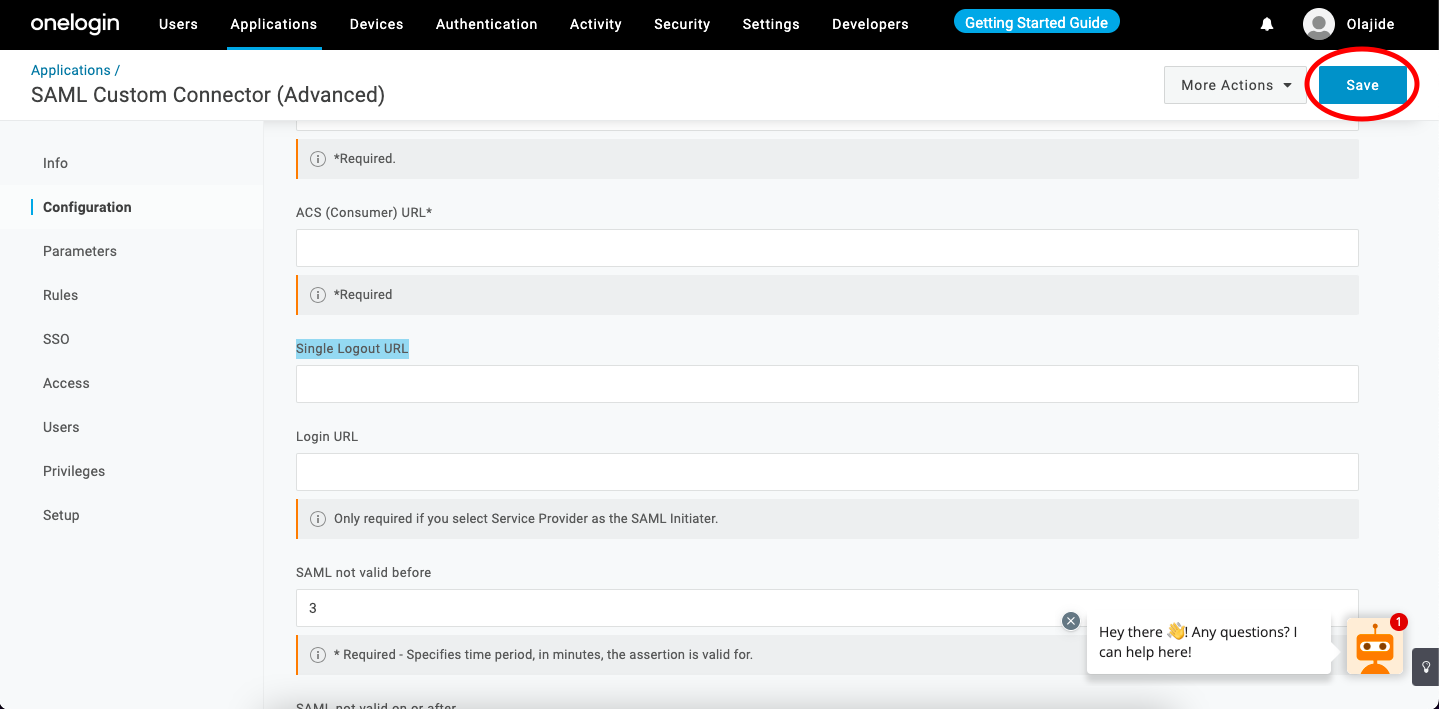
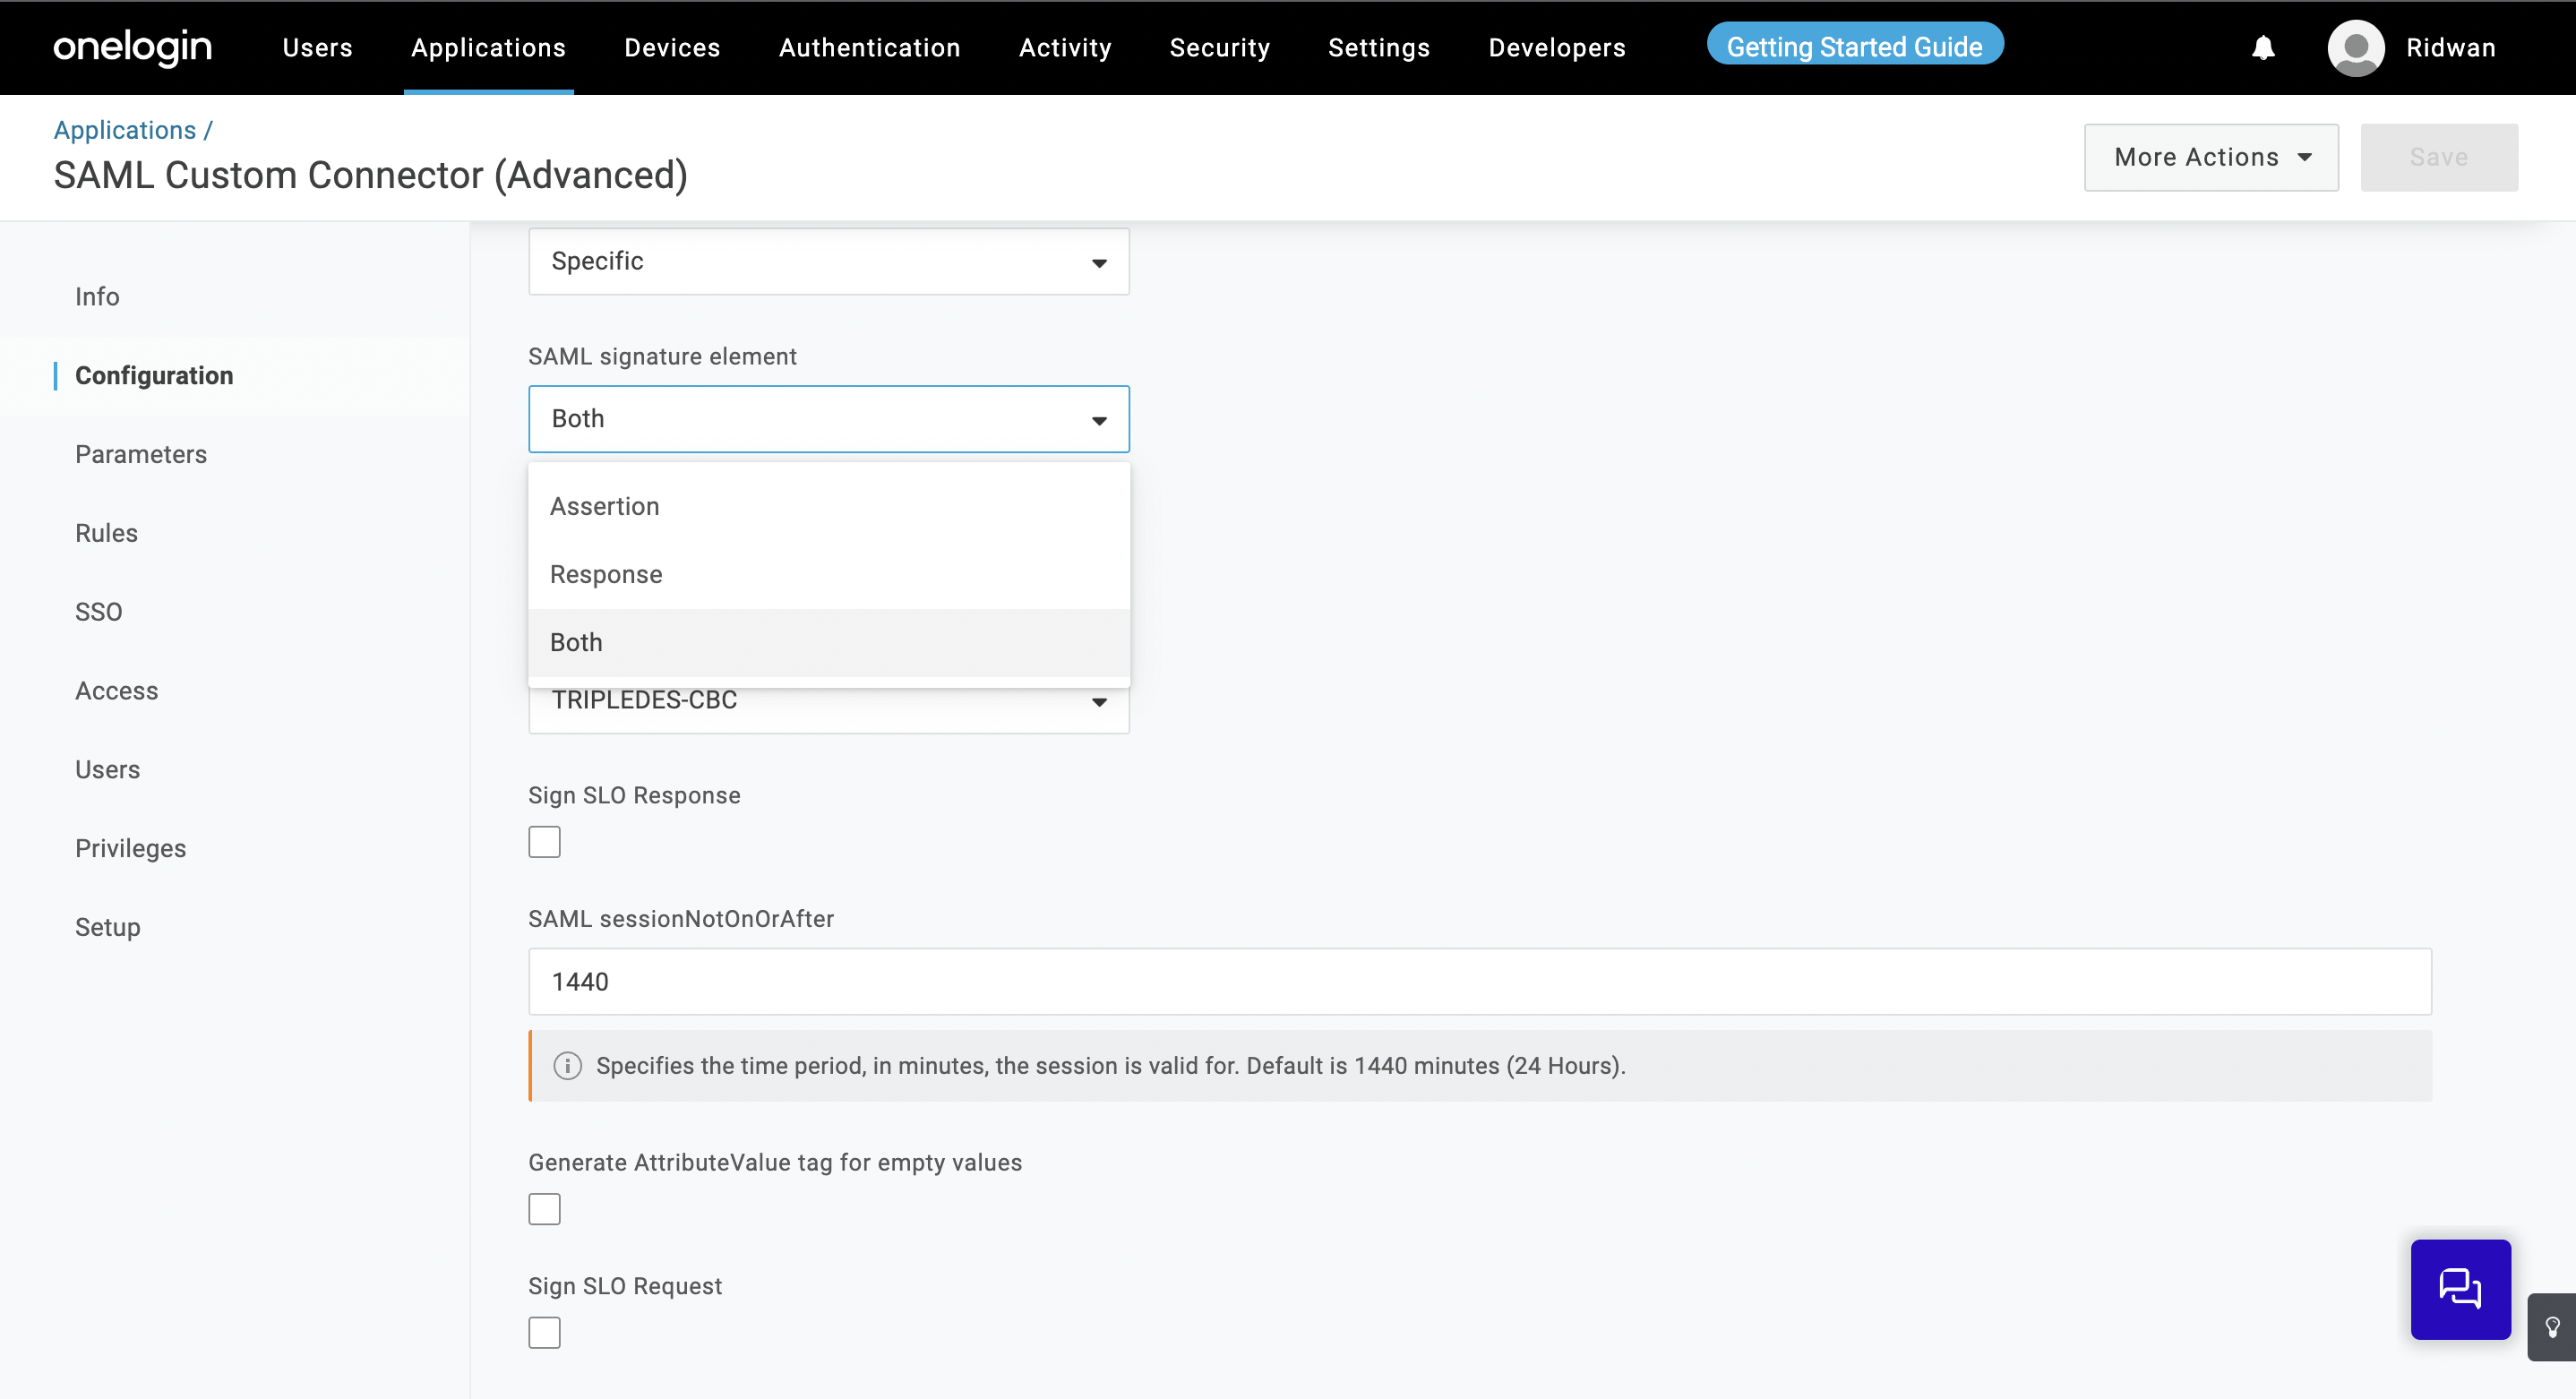
After filling in the above credentials, scroll down until you see SAML signature element and set the option as Both then click on the Save button.